Hartog to de Vlamingh Gallery
This gallery features artefacts, charts, documents and books from Australia's early Dutch explorers. It explores the journeys of Hartog through to de Vlamingh showcasing 100 years of Dutch explorations of Australia.
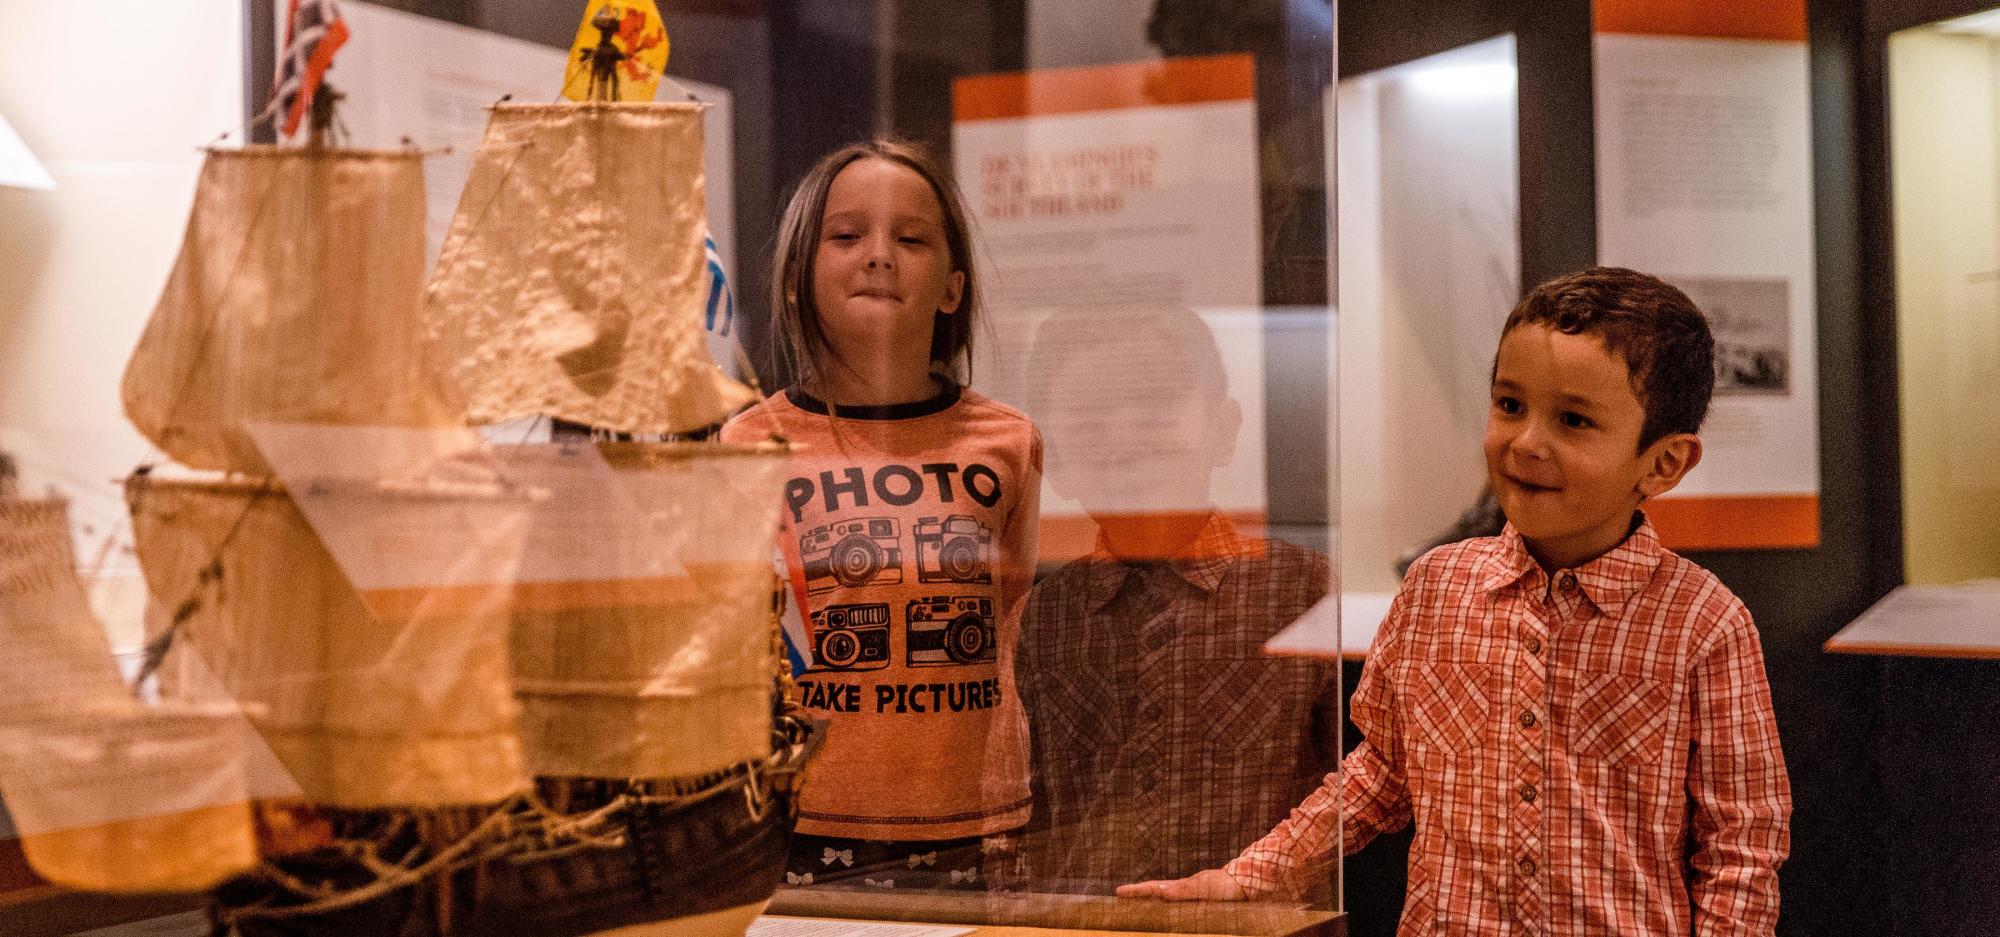
The Hartog to de Vlamingh Gallery also features the de Vlamingh plate, the replica Duyfken, and a replica of the original Pelsaert’s journal – which documented the horror of the Batavia mutiny.
The gallery's floor is built from wooden blocks made of jarrah, a local Western Australian timber crucial to the development of the State. These formed part of the Museum’s original convict-constructed building.
